Insert-A-Blind
Insert-a-Blind Interchangeable Window Blind System
Insert-a-Blind Interchangeable Window Blind System
Regular price
$150.00 USD
Regular price
Sale price
$150.00 USD
Unit price
per
Shipping calculated at checkout.
 Made in the USA
- Custom Sized
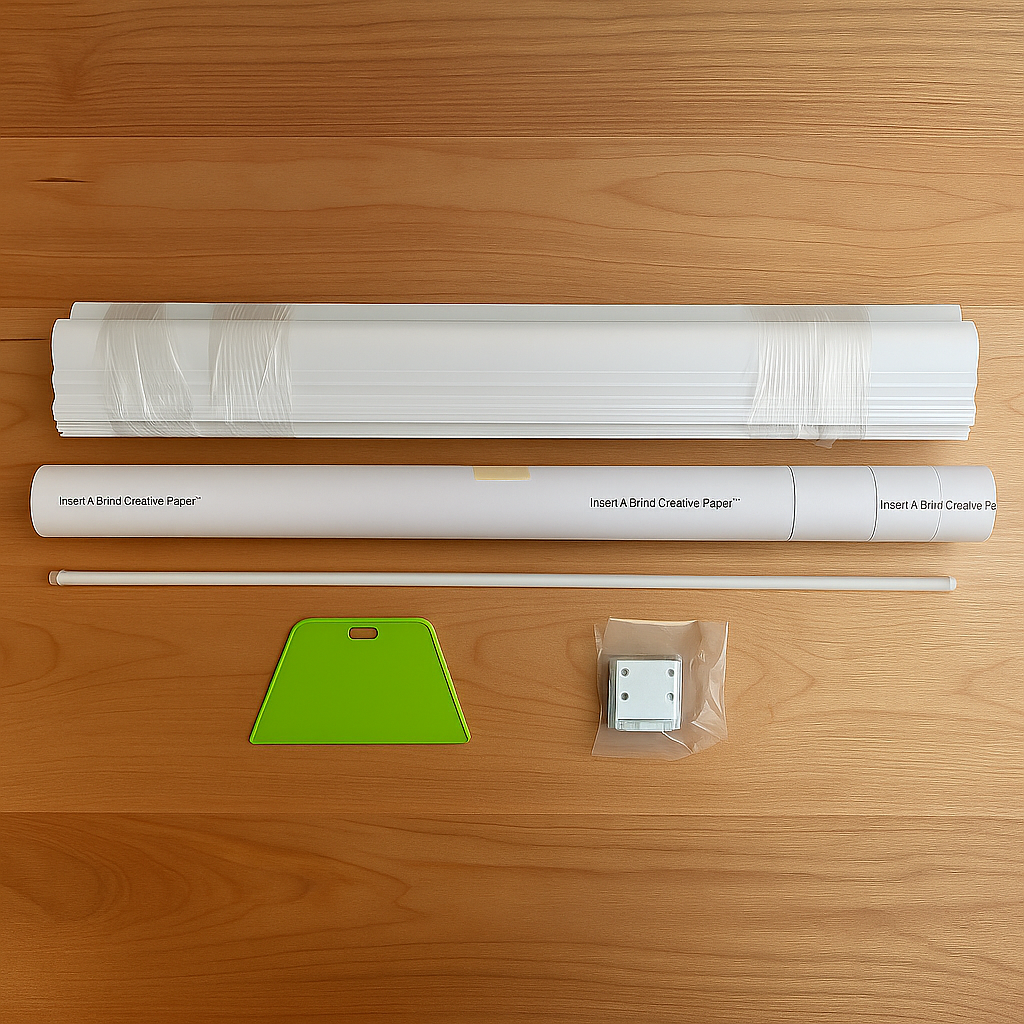
 DIY Friendly


Couldn't load pickup availability
Features
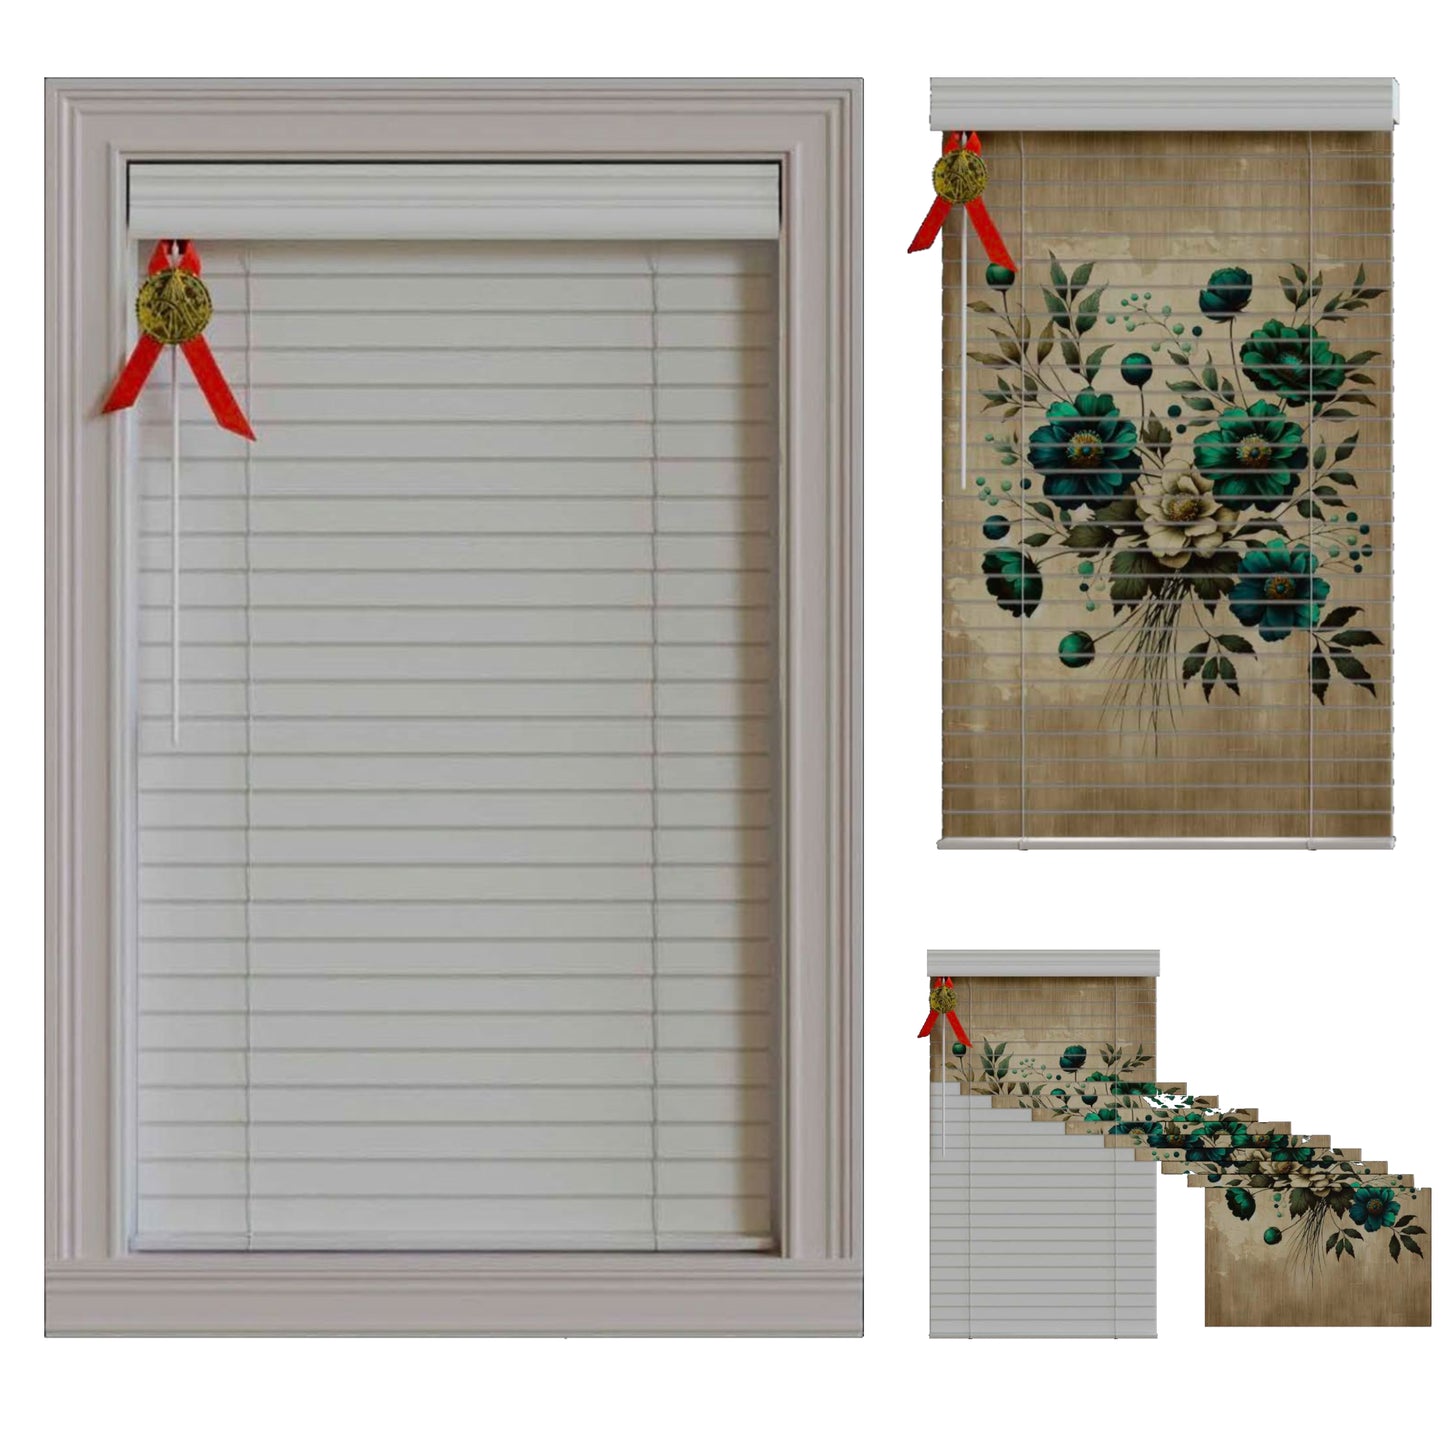
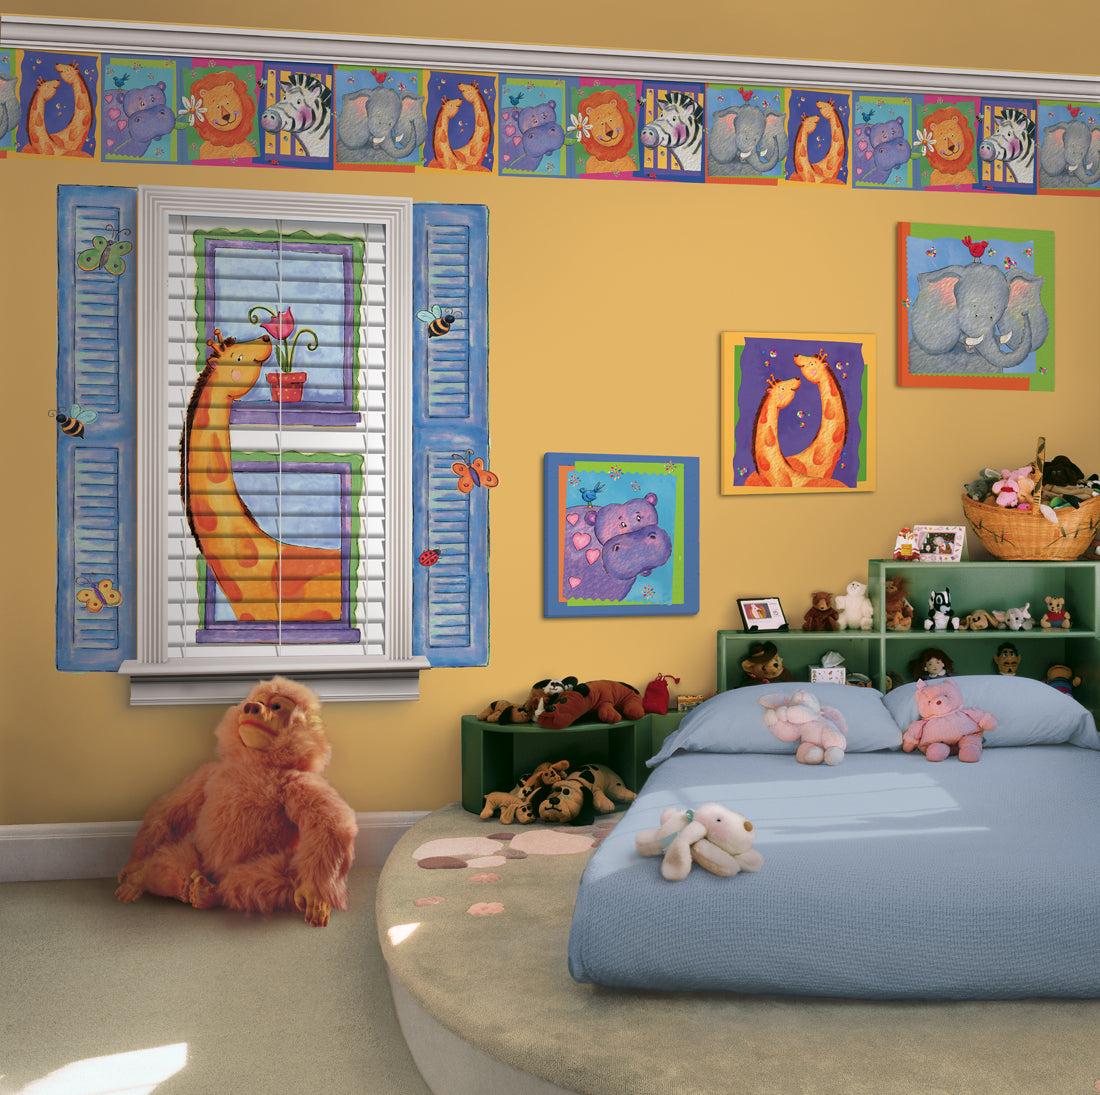
- INNOVATIVE DESIGN: World's only interchangeable 2-inch horizontal window blind system with patented technology for complete decorative freedom
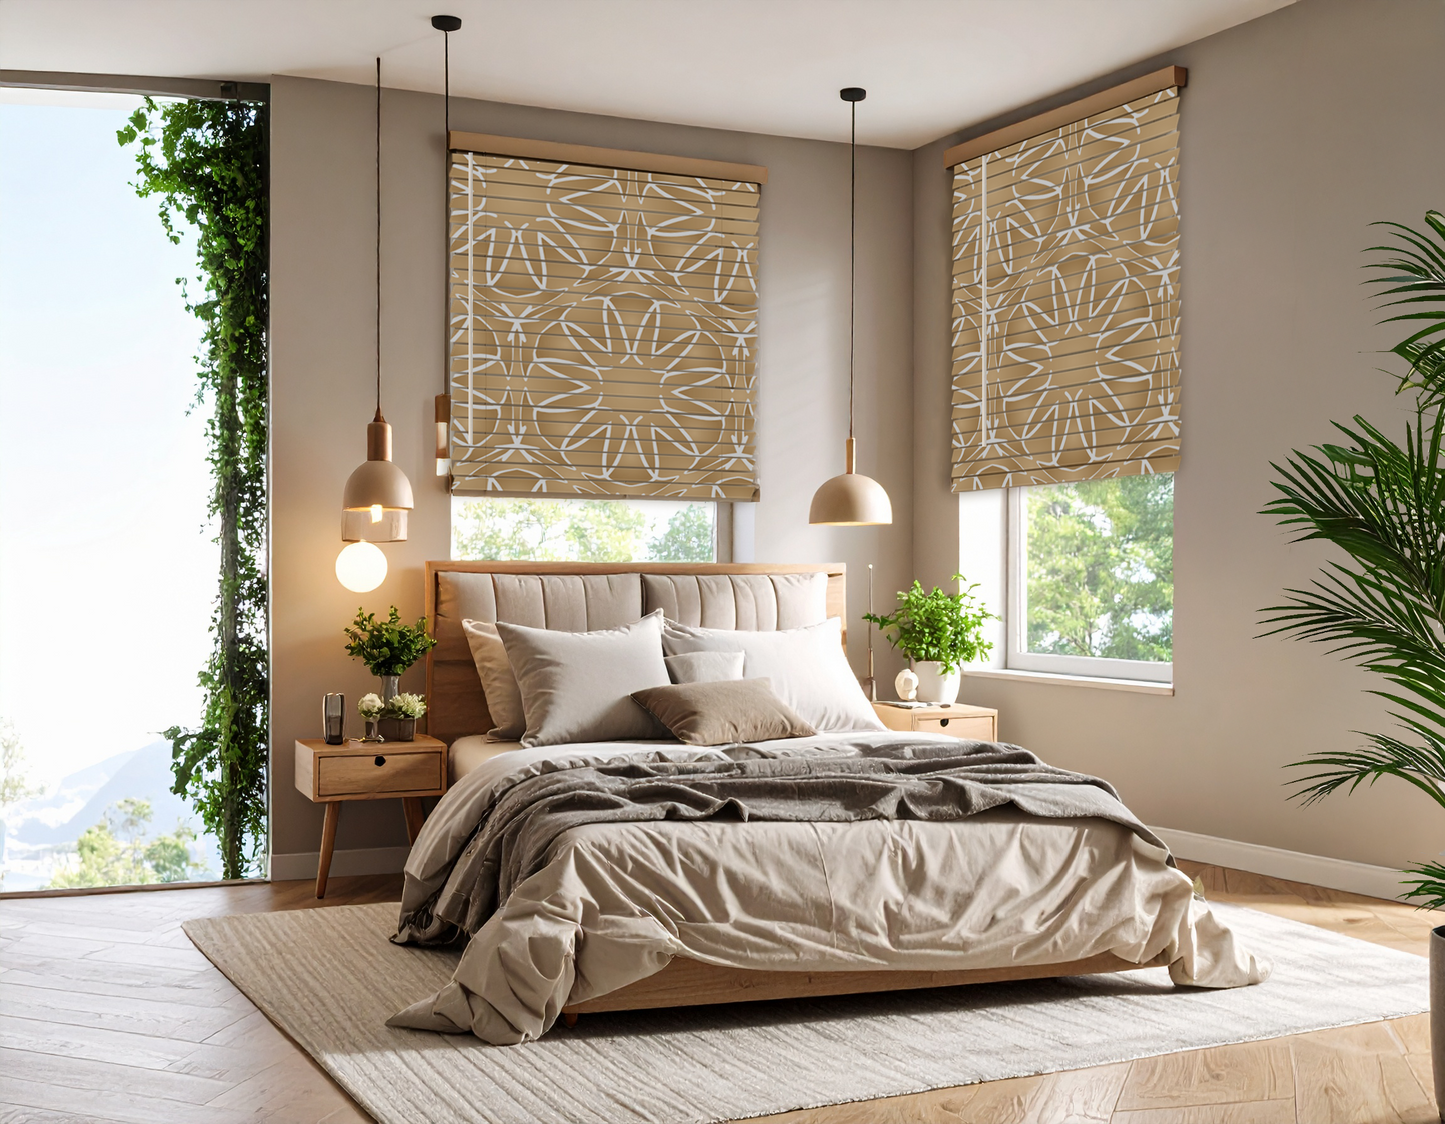
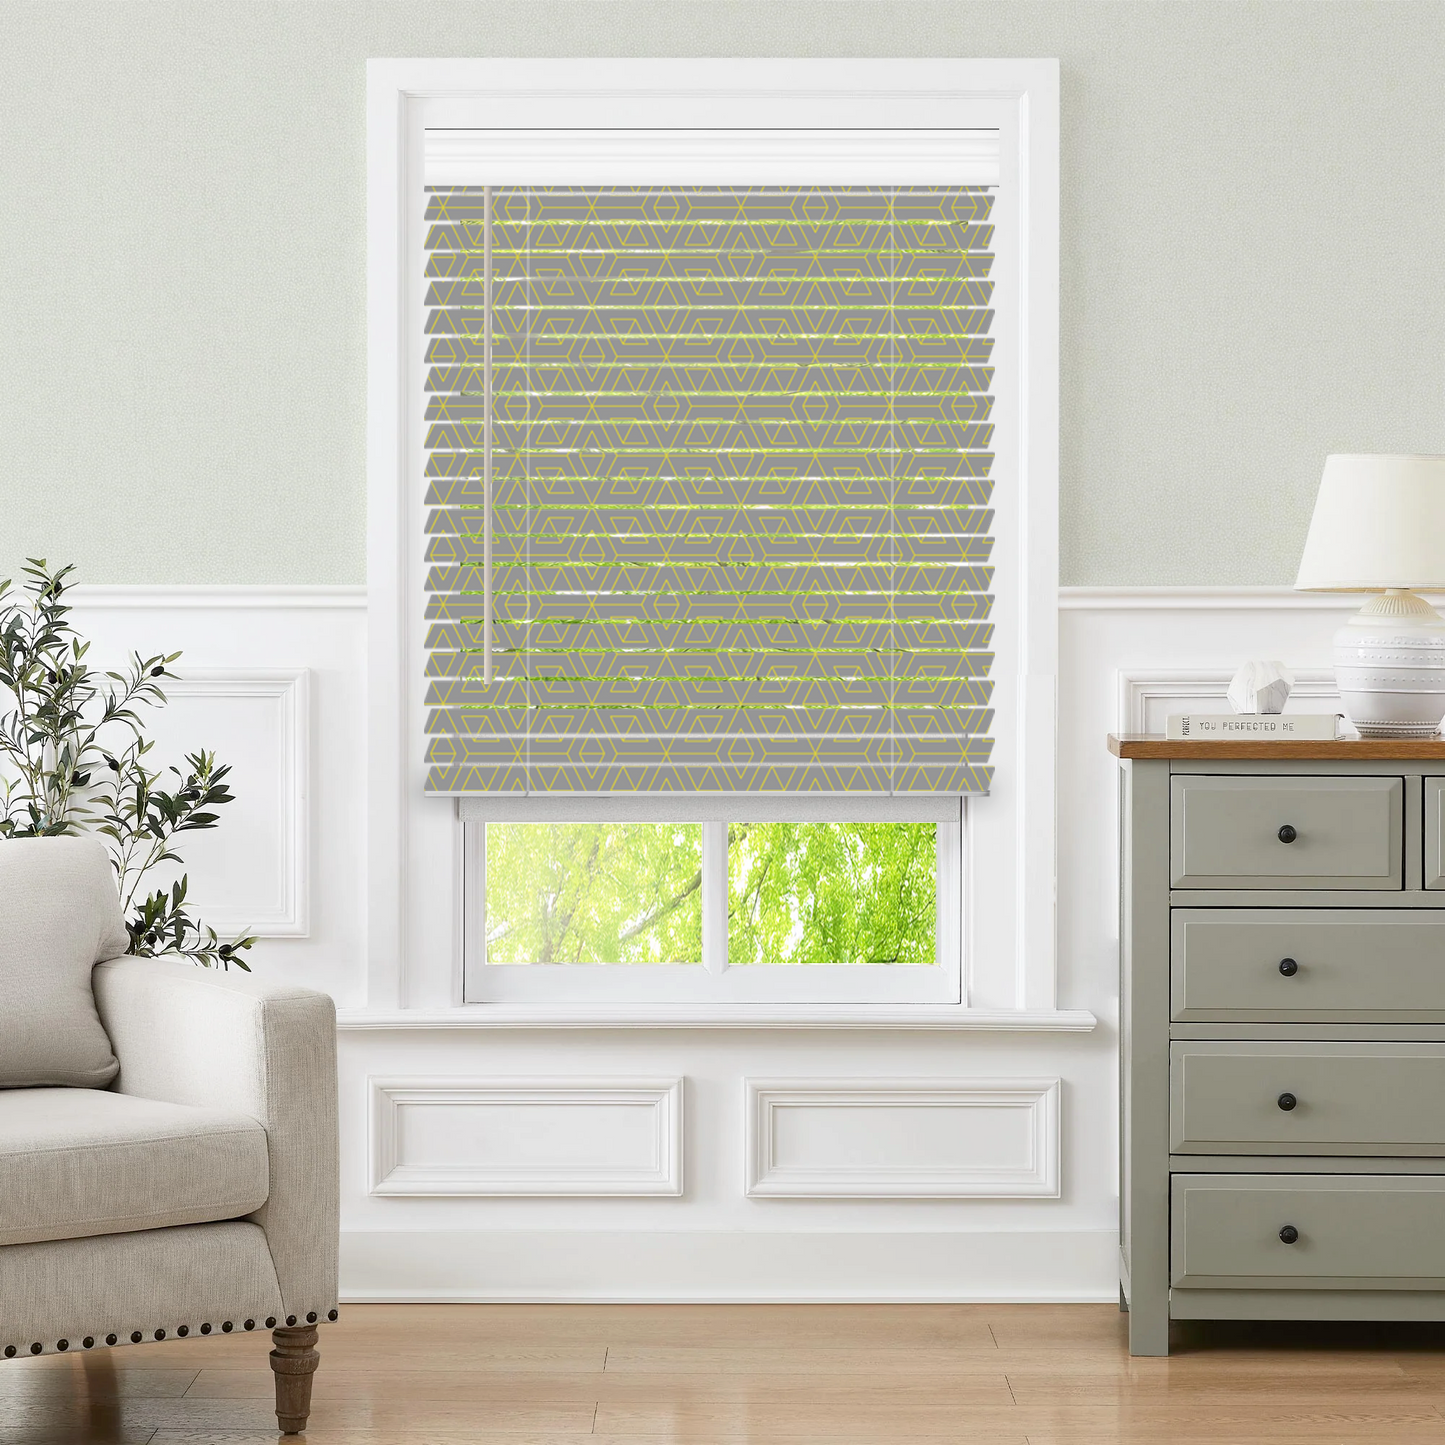
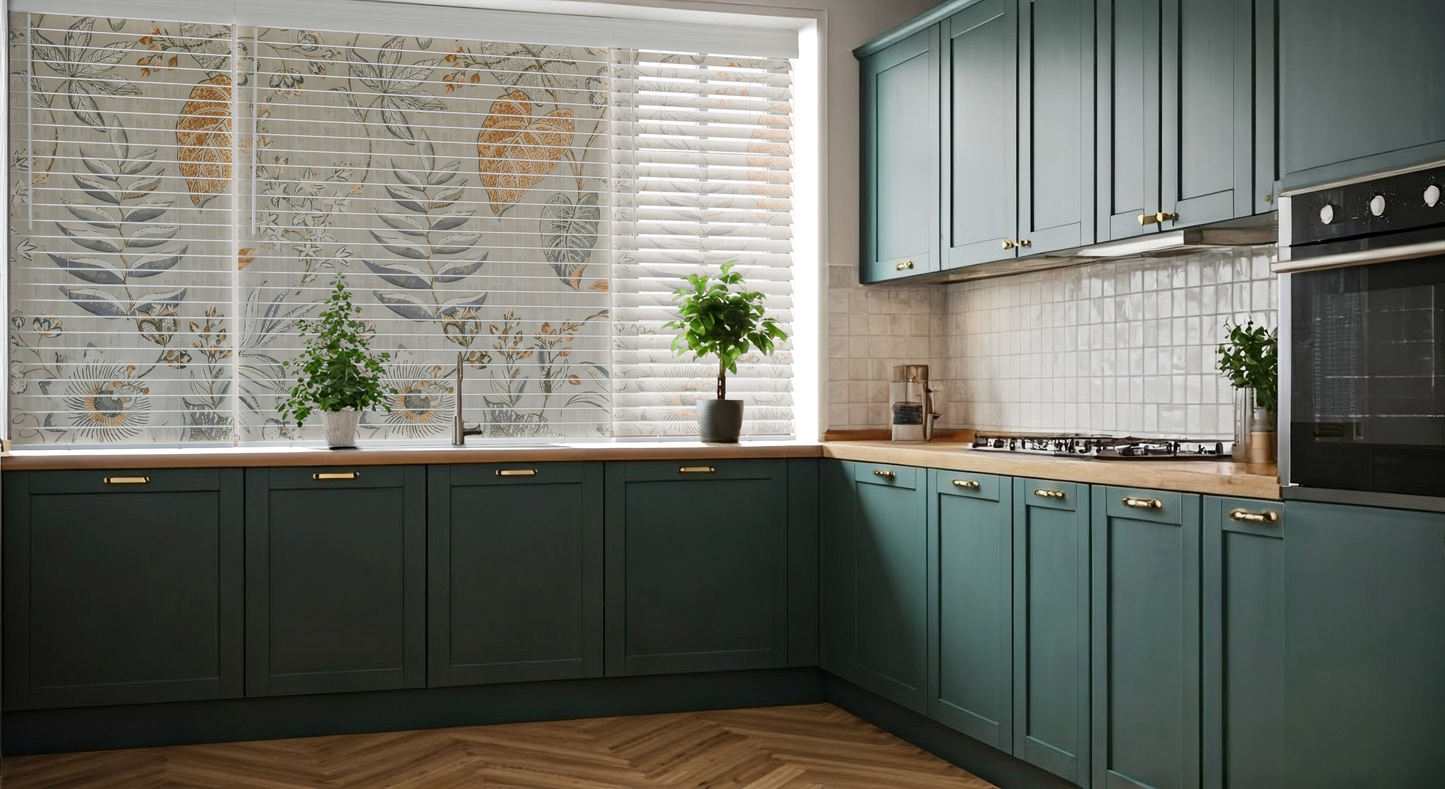
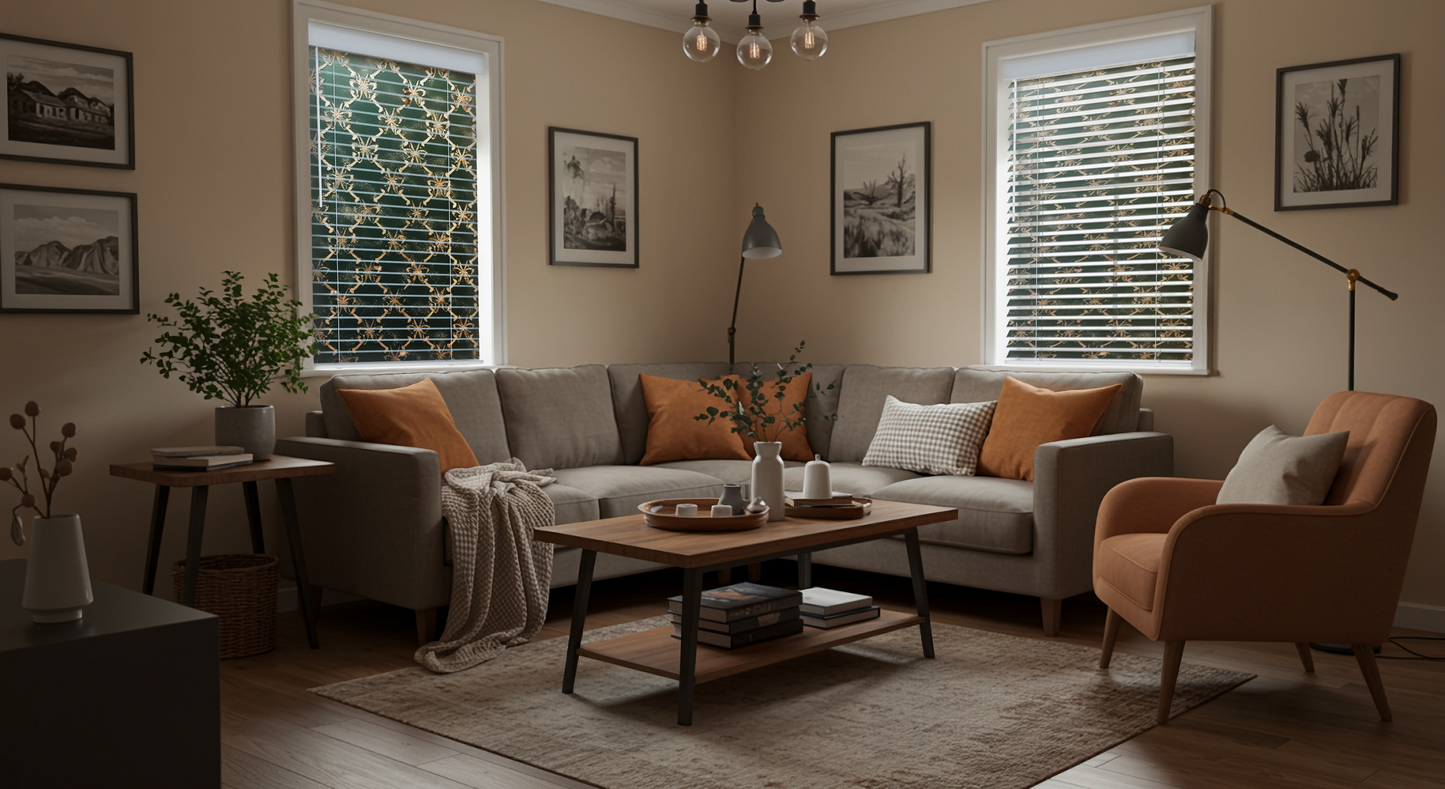
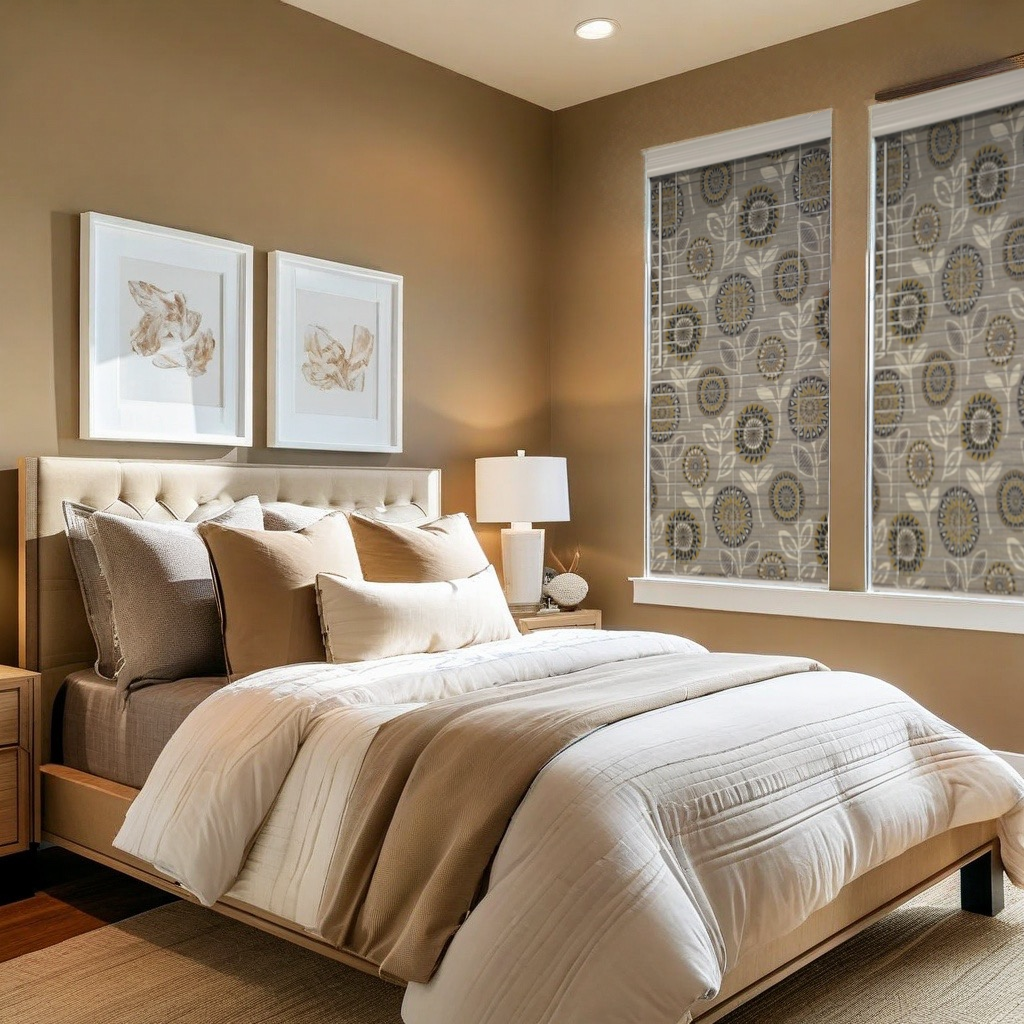
- VERSATILE CUSTOMIZATION: Clear channel grooves in each louver allow insertion of fabric, wall-covering, art, and other decorative treatments
- SEAMLESS APPEARANCE: Uniform presentation ensures professional-looking results with no light gaps between the decorative inserts
- ADAPTABLE SYSTEM: Changes easily as room themes evolve, making it perfect for children's rooms, living spaces, or any area requiring frequent updates
- EASY INSTALLATION: Patented insert system allows for quick and simple application of decorative elements to transform your window treatment